Rest is SO SO SO important. If I could workout 7 days a week I would BUT because I am a good yogi I allow myself one down day per week (typically Sunday), and one restorative day per week (typically mid-week, like Wednesday). Listen to your body! It will always tell you what it needs, you just have to listen. If you’re body is telling you that you need to workout like a maniac 7 days a week, be the boss and tell it to simmer down. When we overwork anything it becomes worn out, our bodies are no different. It needs rest to be healthy and happy. If you don’t give yourself time to recover from anything (work, illness, exercise) you will get sick, your body will eventually call it quits. So take one day off during the week, and also take one day to practice restorative work. That being said, take a look below for some easy restorative yoga poses. Practice safe my friends ❤
There are several other variations for each of the poses that I’ve posted below but these are my personal favorites. You will find what works best for you as you experiment with variations and your practice over the years.
SUPPORTED SUPTA BADDHA KONASANA –


- Place a bolster at the top of your mat vertically. You can also fold several blankets and stack them on top of one another if you don’t have a bolster. I would say 2, no more than 3 blankets.
- Fold a blanket and place it horizontally at the top of your bolster or stack of blankets. This is for your head (take a look at the blanket under my head in this photo).
- You’ll need a blanket within reach for your legs, and you might want to have two folded blankets nearby to place under your arms, one for each arm (see photo).
- Sit in front of the bolster (hips a few inches away from the bolster or blankets so the lumbar spine can release towards the floor and the abdomen can relax and soften once you’re lying down).
- Bend your knees, draw the feet close to the hips, and bring the soles of the feet together. Open a folded blanket wide enough so that when it’s rolled like a little taquito it’s long enough to go over the tops of the feet and under both hips (see photo). The purpose of the blanket is to allow the body to fully relax in this pose.
- Lay back over the bolster, support the entire neck with the blanket. Feel free to place a folded blanket under each arm for more support.
- Soften the face, relax the entire body, inner arms roll open, inner thighs roll toward outer thighs
- To get up, remove props and carefully roll off the bolster to the right. Use your hands to press the body up to sitting
- NOTE: There are several variations of this pose but this particular variation is personally my favorite and I find that I can really relax with all the props supporting me. Find what works best for you as you continue your practice.
VIPARITA KARANI –


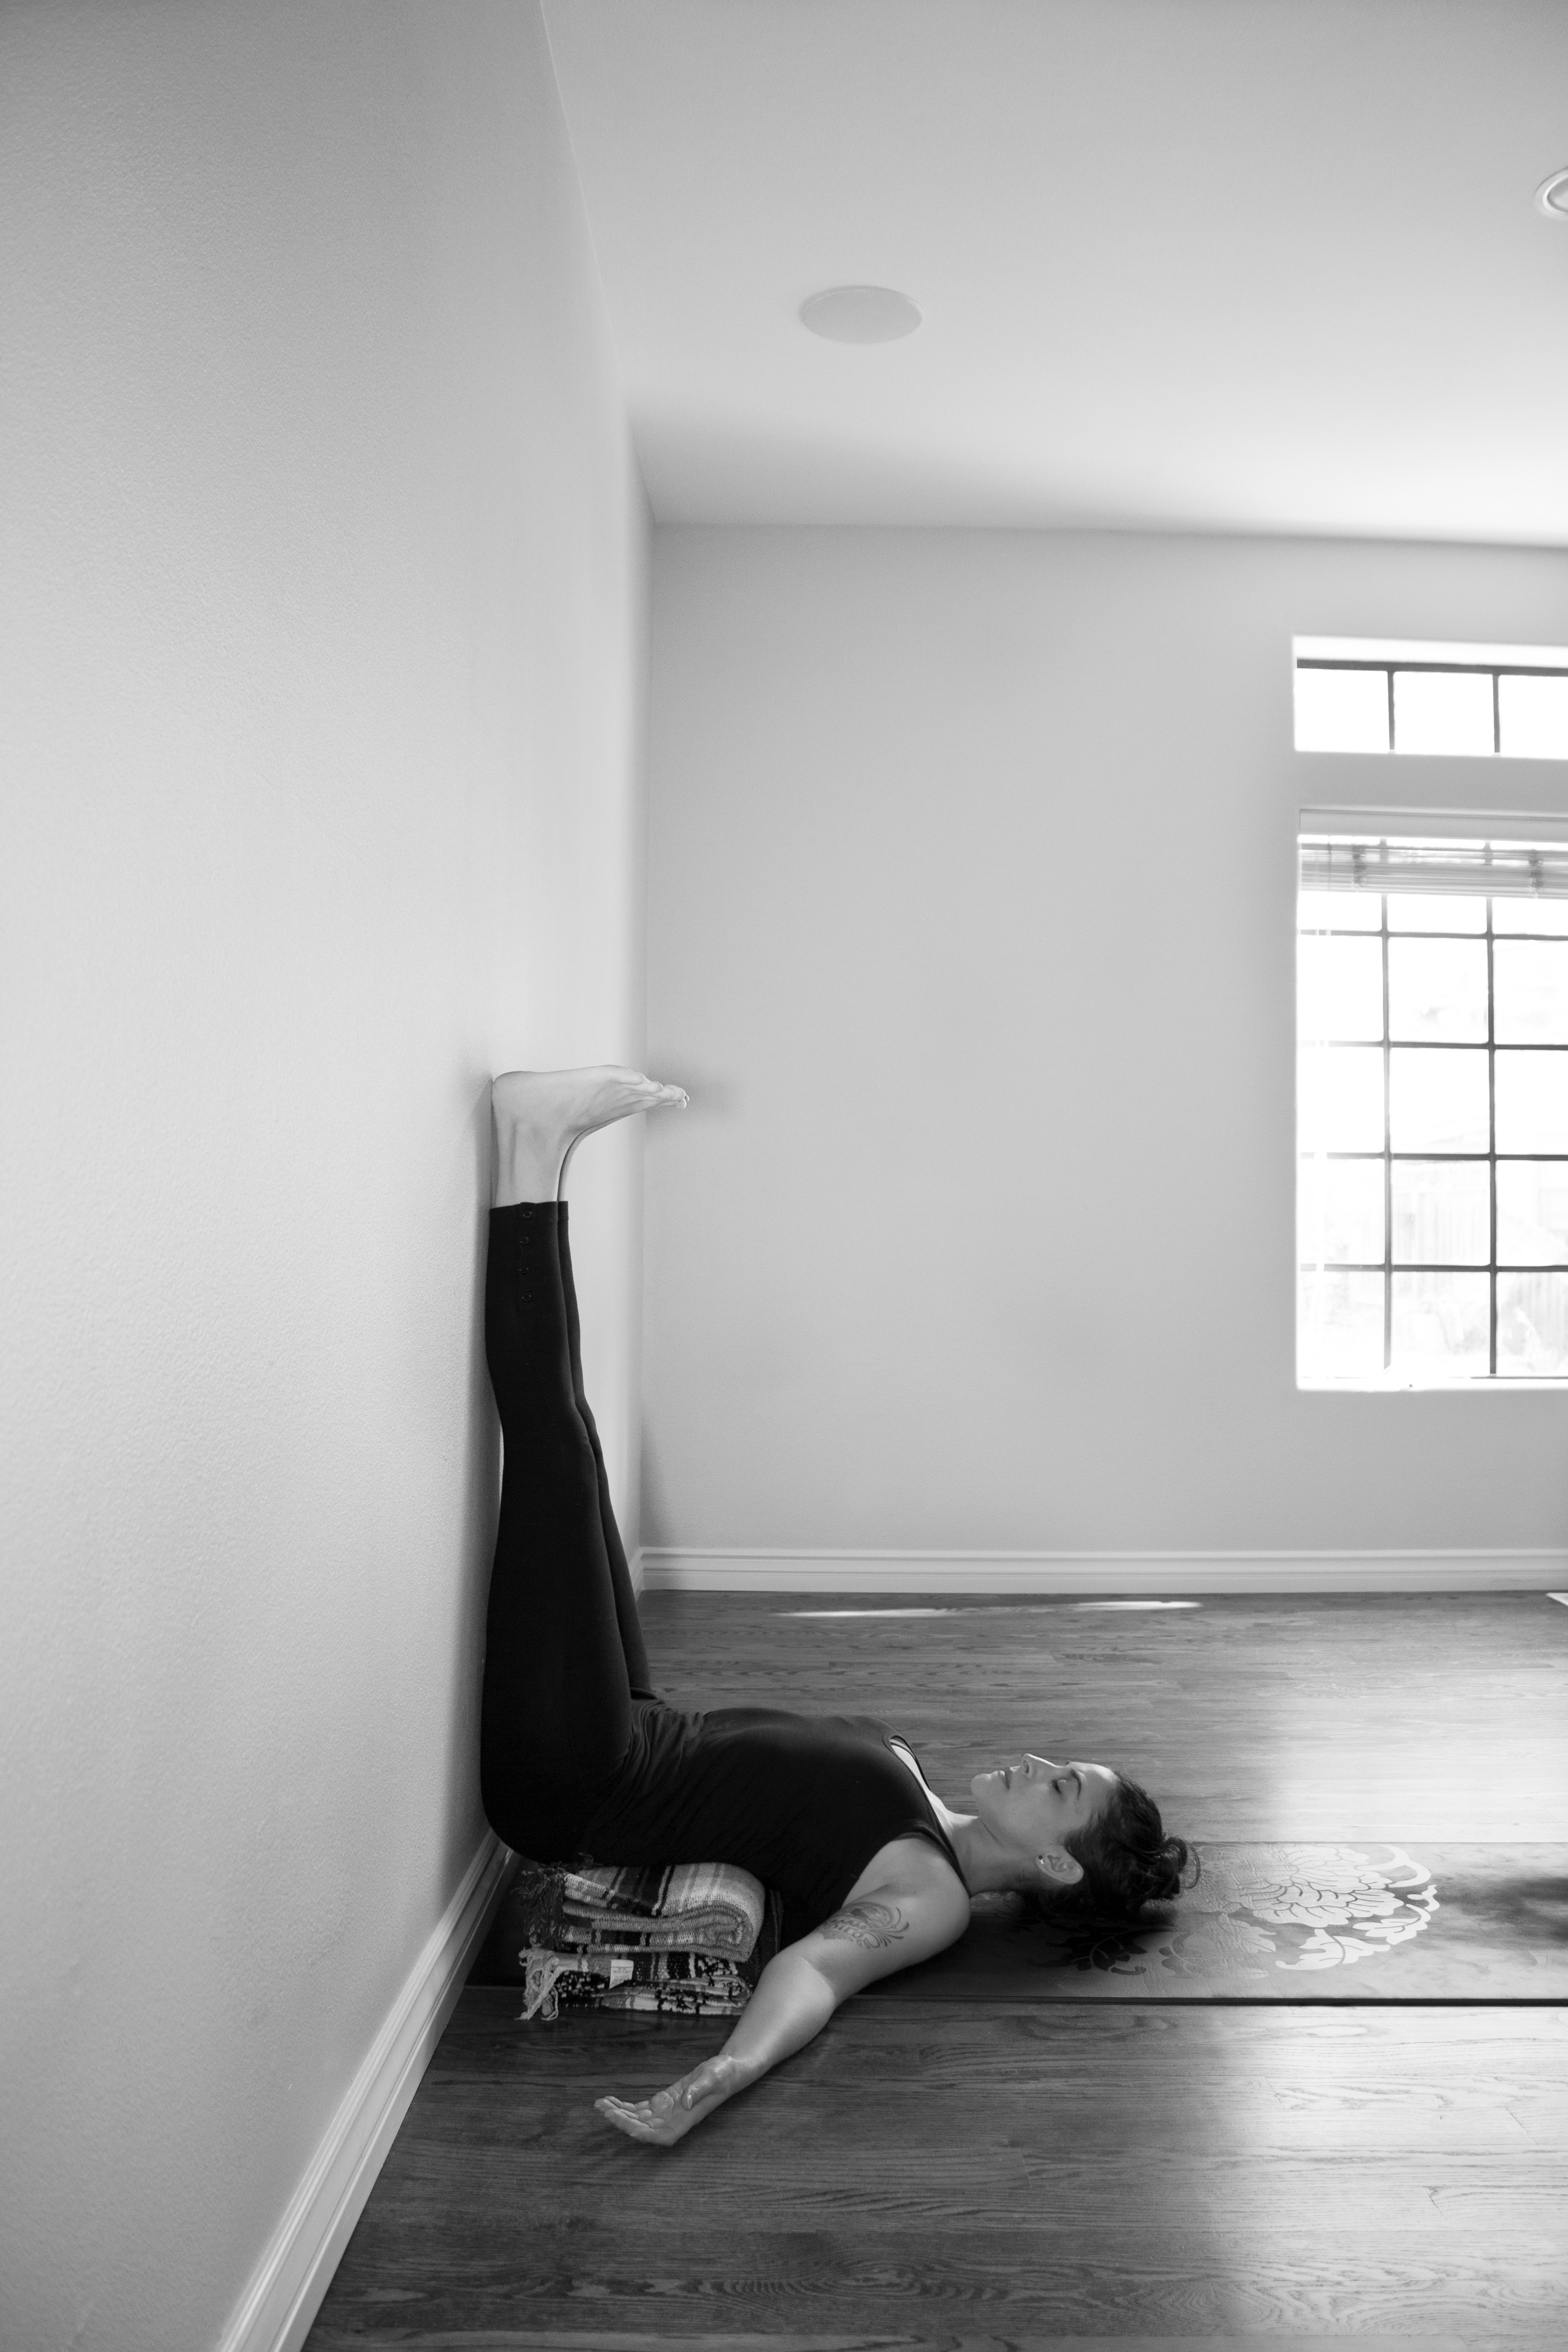
I would highly suggest using blankets or a bolster under your hips and lower back for this pose.
- The height and distance from the wall are important in this pose. If you tend to be more tight/less flexible the blankets/bolster should be lower and placed farther from the wall. If you tend to be more flexible the blankets/bolster can be higher and slightly closer to the wall. Also, if you’re shorter move closer to the wall, if you’re taller move farther from the wall.
- Place the blankets/bolster several inches away from the wall. Sit sideways on the right end of the blankets/bolster, with your right side against the wall. Then swing your legs up onto the wall. The blankets/bolster should be supporting your back waist and touching the bottom tips of the shoulder blades, allowing the chest to open. Your shoulders and head will rest on the floor. They call this the waterfall effect, as if water could pour down the legs and pool in the belly, and then trickle down from there and pool again at the base of the throat. NOTE: It will take some wiggling around and lots of adjustments to get this right the first few times you do this pose. Be patient with yourself, but do adjust until you are in the right position for full relaxation and benefits.
- Your buttocks shouldn’t be right against the wall, it should release down into the space between the blankets/bolster and the wall.
- Extend the legs straight up the wall. You can also place a looped strapped around your calves in order to keep the legs active and together. Allow the weight of the legs to release into the hips. The legs should be able to relax but they will still be slightly active.
- Stay in this pose anywhere from 5-15 min
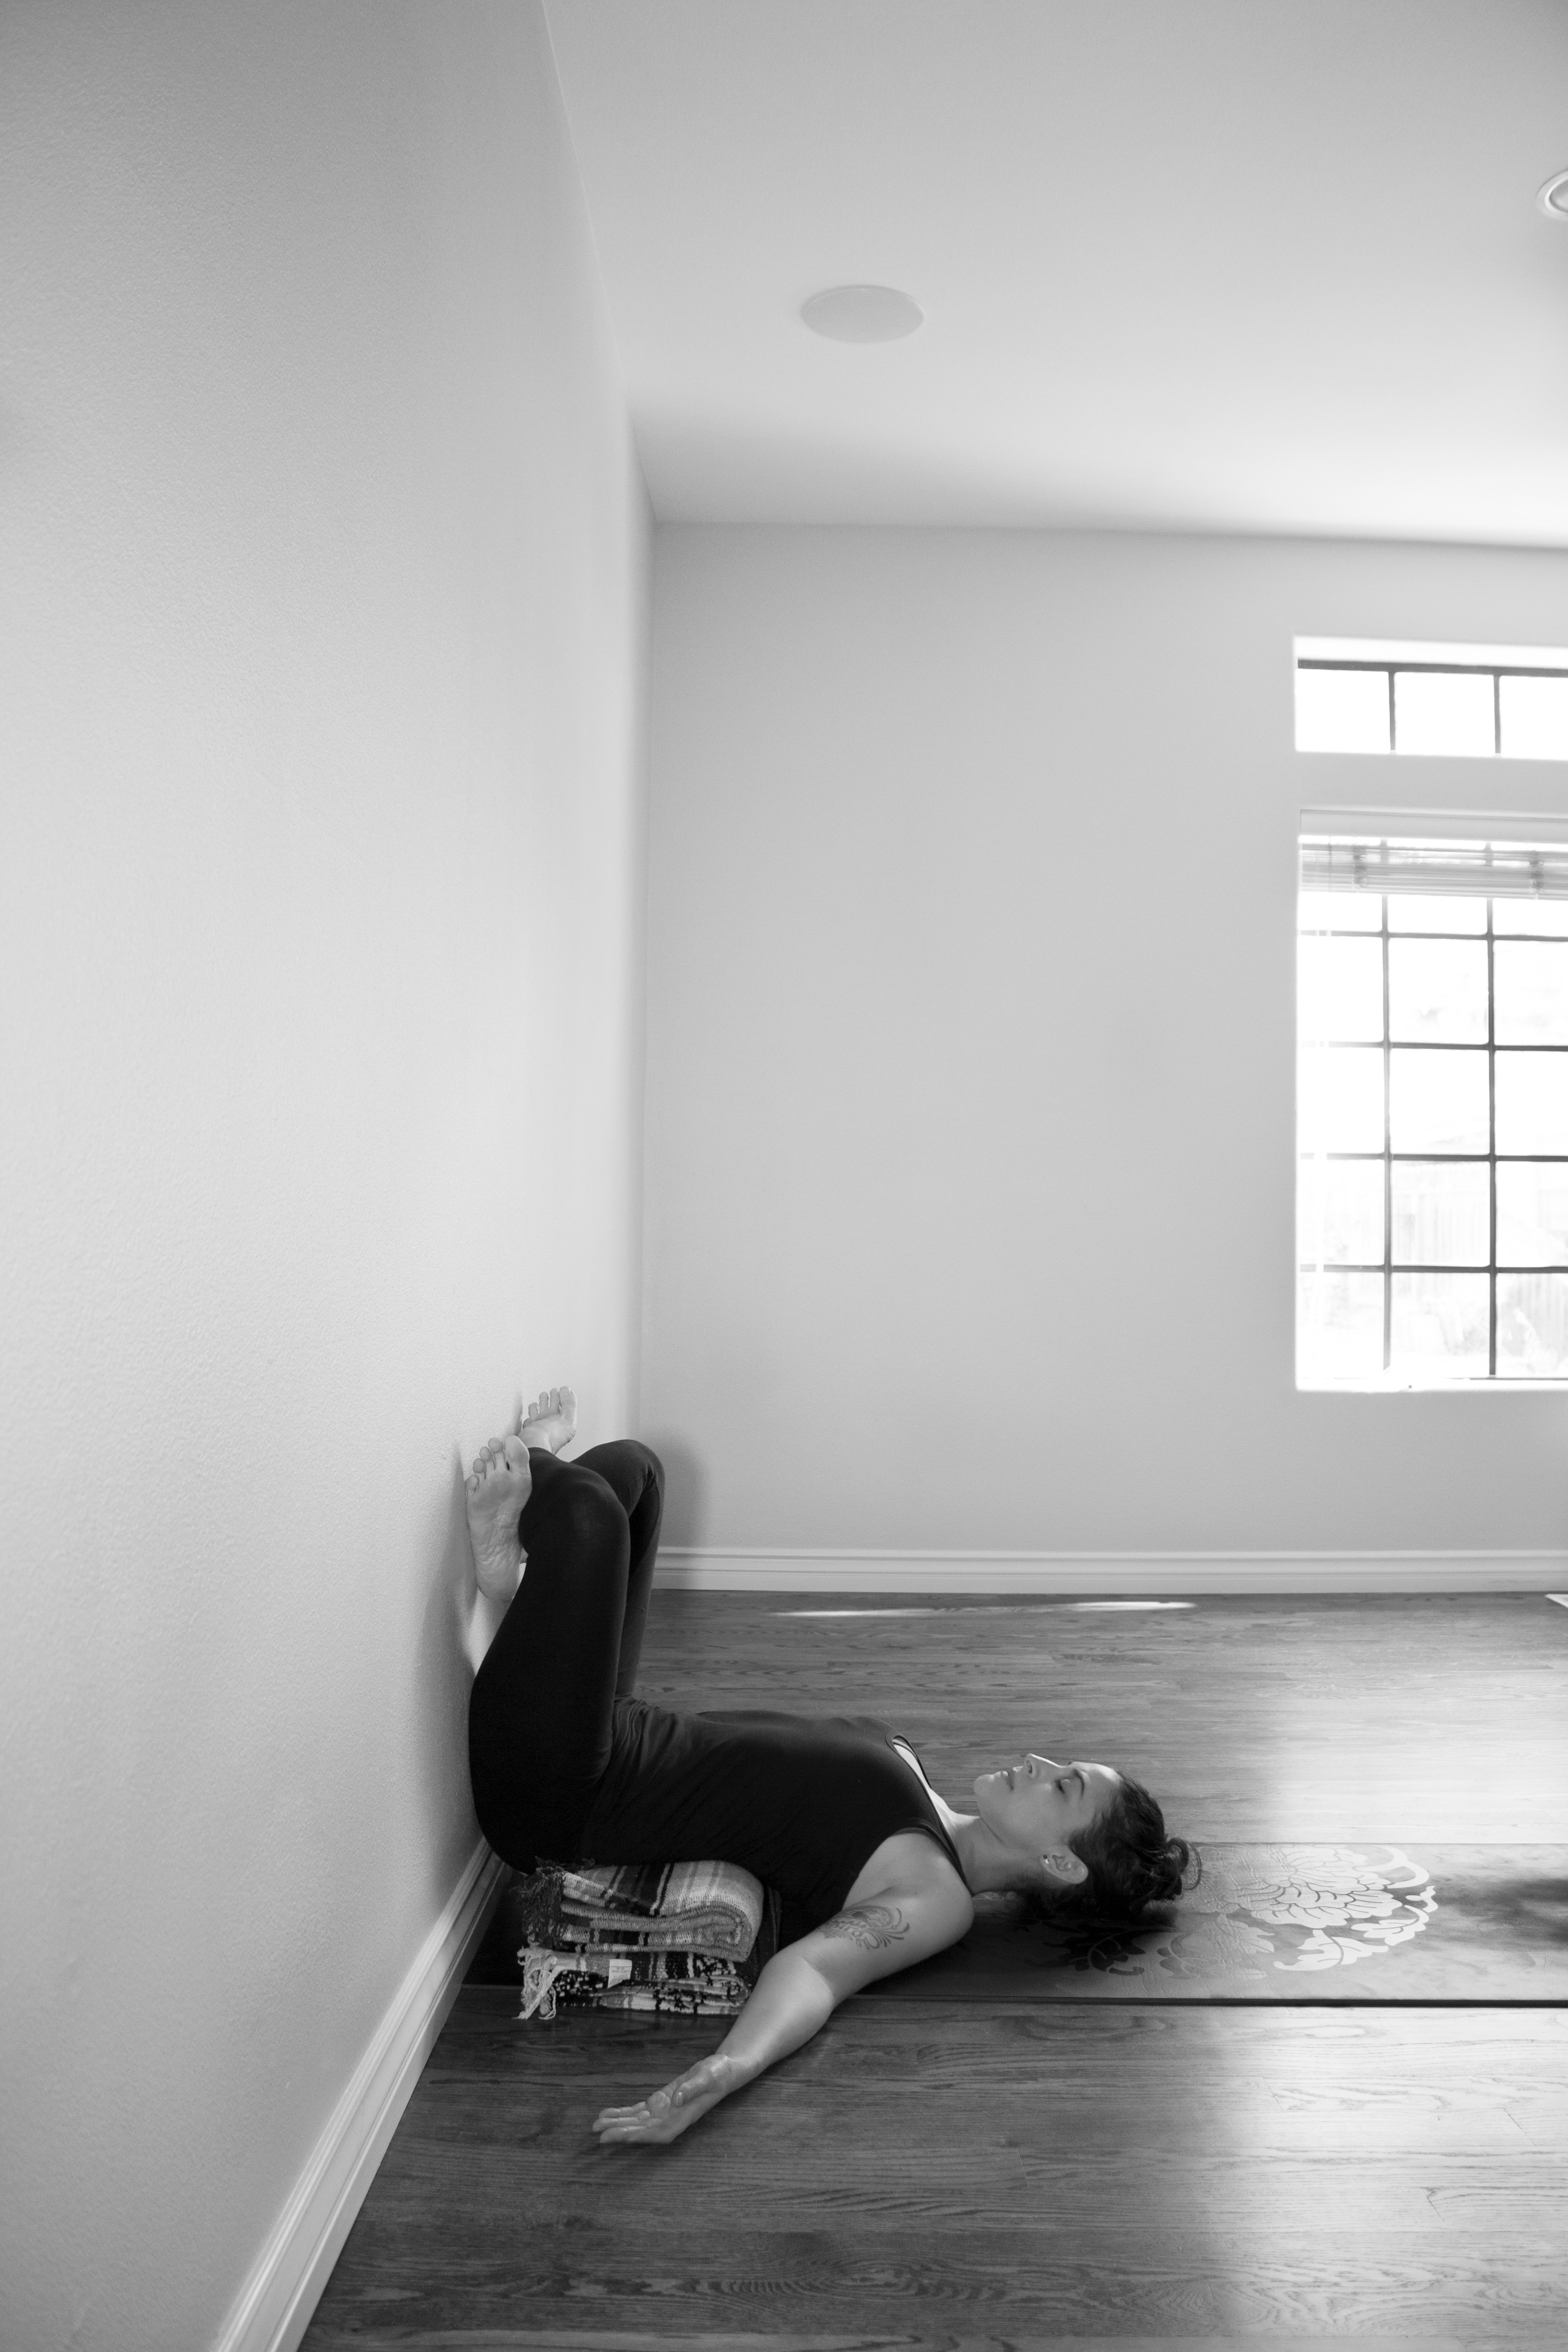
- I like to come out of this pose in steps: Bend the knees and bring the legs into Sukhasana
with the legs resting on the wall. Of course if there was a strap on your legs you’ll have to remove this first. Stay like this for a moment and then switch the crossing of the legs and rest in Sukhasana at the wall again. When you come down, keep the legs in Sukhasana and bring them down to the bolster, so the only thing on the bolster now is your legs in Sukhasana (you can change the crossing again if you’d like). Then you can come all the way off the bolster and rest in Savasana or just roll to the right and move into your next pose.
SUPPORTED SETU BANDHA SARVANGASANA-
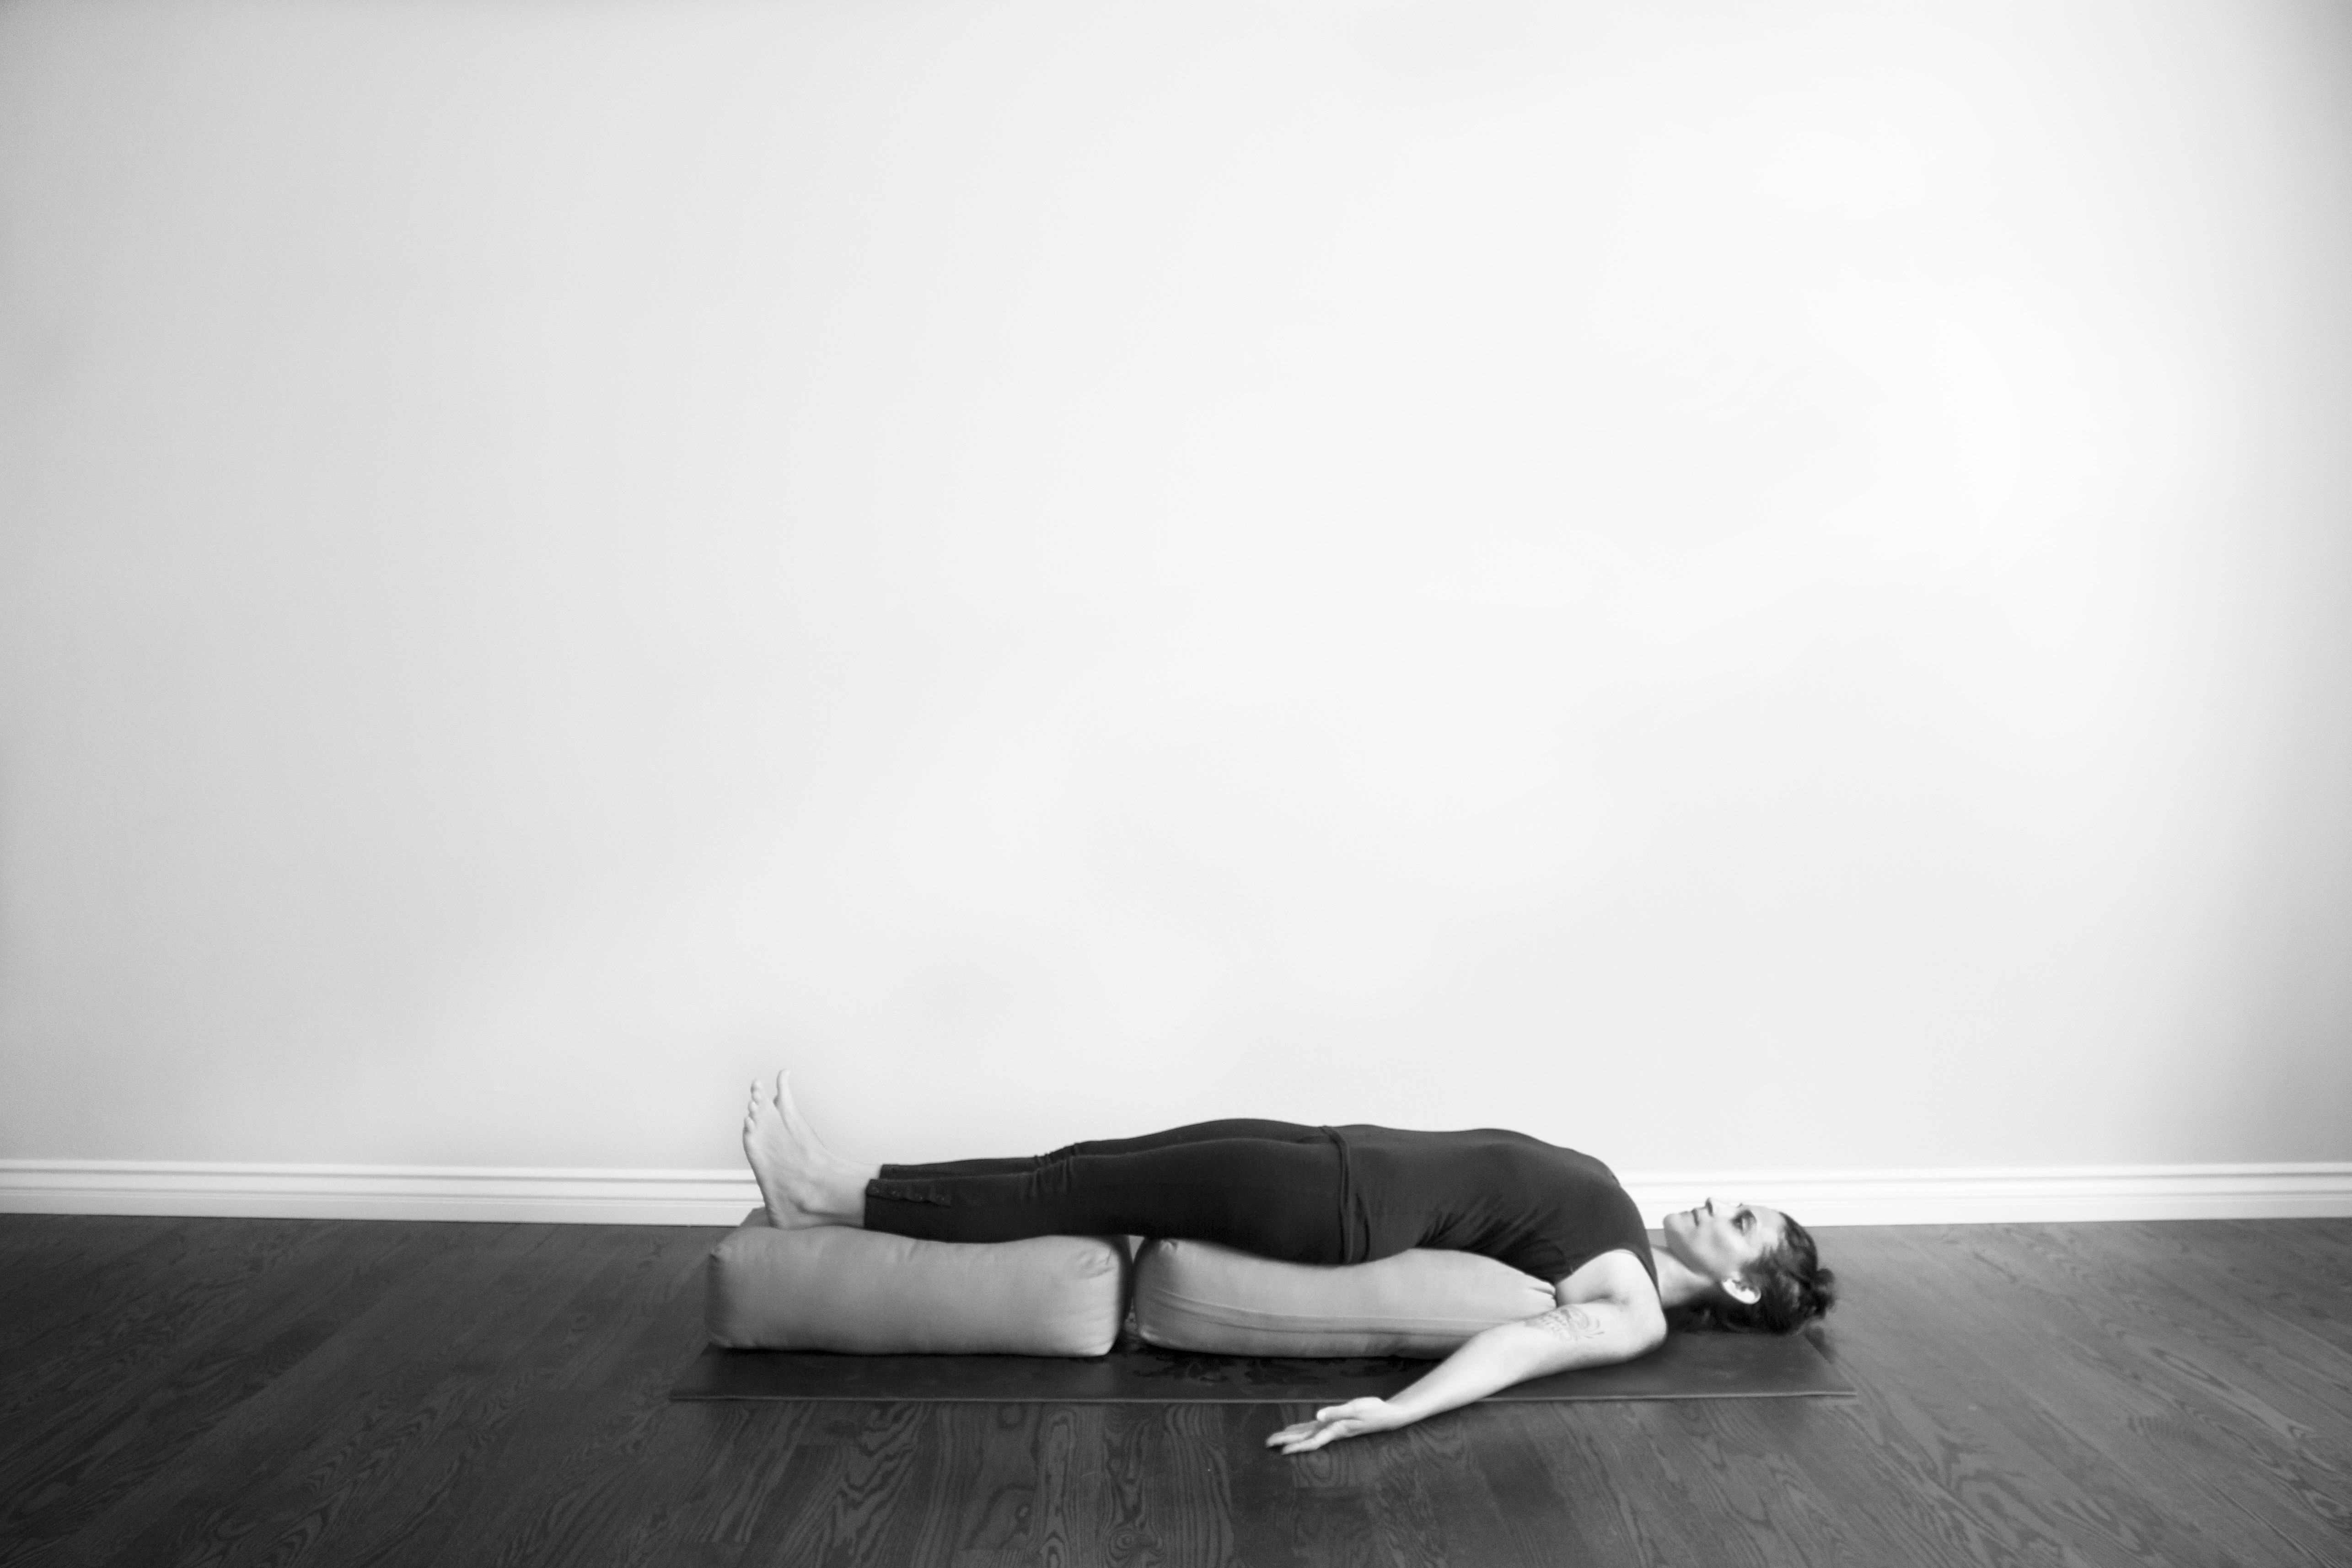
- Lie down on the bolsters. The bolsters will support the feet, legs, buttocks, and most of the back. Some of the upper back, shoulders, head, neck, and arms will rest on the floor.
- You can strap the legs so they can relax comfortably. Keep the legs together and the feet flexed, toes pointing up towards the ceiling.
- Inner thighs release down towards the bolster
- Lengthen the buttocks towards the backs of the heels
- Roll/tuck the shoulders deeply beneath the body, as if you’re resting on your shoulders. The rest of the body should feel light when you’ve rolled/tucked the shoulders properly under the body
- Press the outer upper arms firmly down
- Broaden across the collarbones
- Lift the shoulder blades in and up to open the chest
- Keep the front ribs soft, the backbend is in the upper chest
- To get out of the pose: Remove the strap around your legs if you used one. Bend your knees and slowly roll off of the bolsters to the right and then press yourself up to sitting with your hands.
SAVASANA –


- There are several ways you can do this pose. The most important thing is that you are comfortable and can fully relax into the support below you.
- Lie on your back and release your arms out to the sides, palms facing up towards the ceiling.
- Have the legs hips distance or slightly wider and allow them to relax fully
- Keep a slight lift in the chest by drawing your shoulders under you slightly
- Release the flesh of the buttocks towards the heels
- Lengthen the back of the head and neck so that the top of the forehead is higher than the chin. Do not tuck the chin.
- Allow the entire body to relax; face, eyes, jaw, arms, belly, legs.
- You can place a folded blanket under the head and a rolled blanket under the knees (as shown in photo above)
- When you’re ready to get up, bend your knees and roll off to the right. Pressing your left hand into the ground to roll yourself up to sitting.
I hope you enjoyed this post!
Best,
Jenna

Published by